
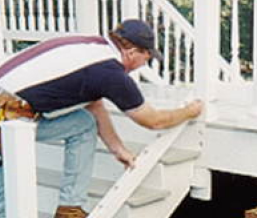
STEP 1
Rest bottom rail on stair treads and mark angle on each end of bottom rail.Make sure you have the same distance to the first hole on each end to assure a uniform appearance.

STEP 2
Trim off each end of the previously marked angle. Place one mounting bracket on each end of the top and bottom rail. (Note: Bottom brackets are interchangeable, turn to accommodate the correct angle.)

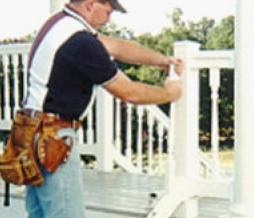
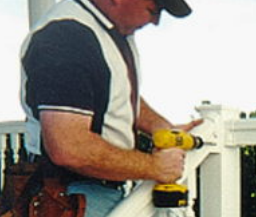
STEP 3
Place the bottom rail into the opening and secure it with screws.
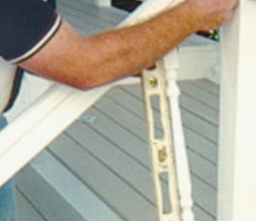
STEP 4
Insert a baluster into the first and last routed hole in the bottom rail.
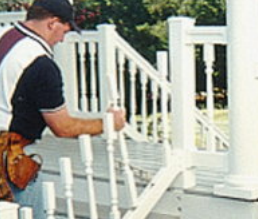
STEP 5
Connect the top rail to balusters making sure you use the same holes as the bottom rail. Level balusters and mark angle on each end of top rail.
STEP 6
Trim off each end of the previously marked angle. Place one mounting bracket on each end of the top and bottom rail.
STEP 7
Insert balusters into routed holes.
STEP 8
Holding top rail at an angle, connect top rail to balusters one baluster at a time.
STEP 9
Level vertically and secure top rail with screws. Place one leveling screw through top and bottom rail on one end only. Conceal screws with buttons.