
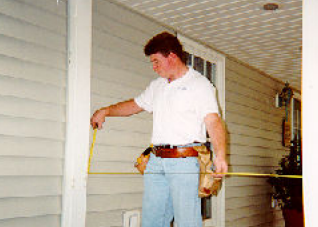
STEP 1
Measure the opening.
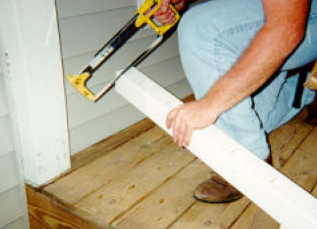
STEP 2
Trim each side of top and bottom rail equally to assure uniform appearance upon completion.
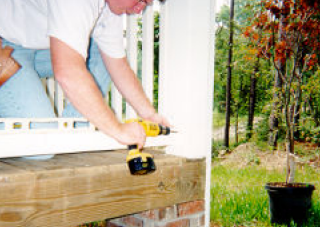
STEP 3
Install bottom rail into opening, level, secure with mounting brackets and screws. TIP: Trim crush block to create horizontal level if necessary.
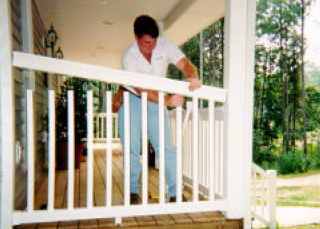
STEP 4
Insert pickets into bottom rail, and assemble top rail.
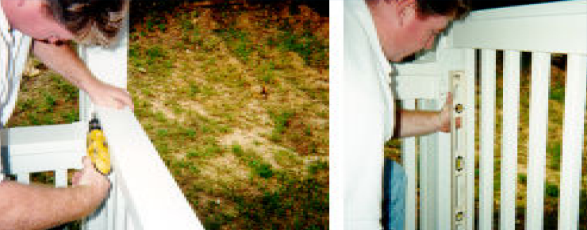
STEP 5
Apply mounting brackets to top rail. Level vertically, and secure with screws.
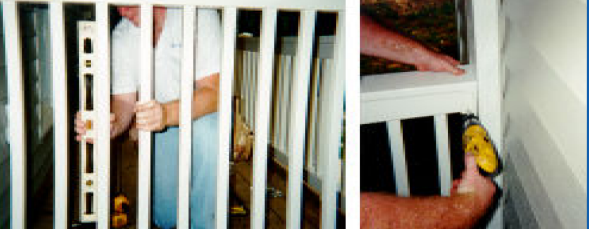
STEP 6
Level balusters and secure rail through bracket with screw. (The hole for this screw is not predrilled.)