INSTALLATION INSTRUCTIONS
4x4 and 5x5
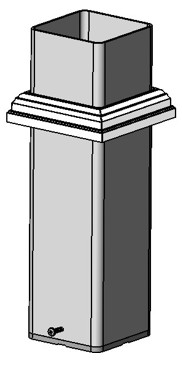
STRUCTURAL PORCH POST
TOOLS REQUIRED:
Chop/Mitre Sawwith carbide tipped blade
Tape measure
Pencil
Drill and drill bits
Level
HELPFUL HINTS:
DO NOT LAY VINYL PARTS ON ABRASIVE SURFACES
1/8″ Tapcon anchors are recommended for installation on concrete.(Not provided.)
Use a carbide-tipped multi-purpose blade.
If any components are missing or defective, please call us at 888-570-5252
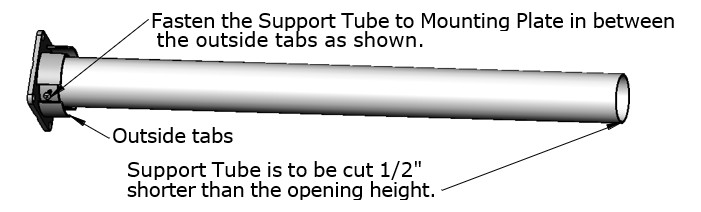
1) Measure the opening height and cut the Aluminum Support Tube 1/2″ shorter than that height. 2) Insert the Aluminum Support Tube into the Mounting Plate and fasten it together using the (4) #10 x 1.000″ screws provided.
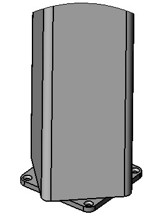
3) Cut the Molded Decorative Column 1-1/4″ shorter than the opening 4) Slide the Decorative Column over the Support Tube leaving about 24″ Note: Do not slide Decorative Column on rough surfaces to avoid scratching.
5) Slide a filler strip into each side of the Decorative Column in between the Aluminum Support Tube and the inside wall of the Column. Do this on all 4 sides.
6) Slide the Decorative Column over the Filler Strips and down onto the Mounting Plate until they sit flush as shown.
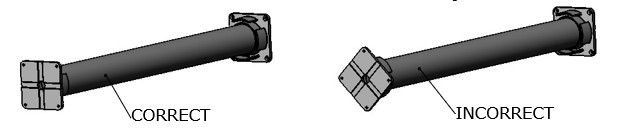
7) Place the second supplied Mounting Plate on the top of the Aluminum Support Tube and fasten it using the supplied (4) #10 x 1.000″ screws provided. See step 2 for the proper location of these screws.
Note: The sides of the two Mounting Plates must be parallel to each other as shown below. TheDecorativePosthasbeenremovedforclarity.
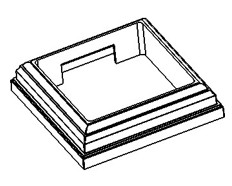
8) Cut out a notch on the inner wall of the (2) Post Skirts as this will be required to clear for screw heads installed in a later step.
9) Slide (2) Post Skirts (Not provided) onto the Decorative Column and place the entire assembly into the opening in the desired
10) Rotate the Decorative Column 45 degrees to expose the mounting holes in the Mounting
11) Fasten the Mounting Plates to the floor and ceiling using the appropriate fasteners ( Not provided) for your application. Insure that the post is plumb and square.
12) Rotate the Decorative Column back to its correct position and attach it to the mounting plates on both the top and bottom using the (2) #10 x 000″ screws provided. Note: These screws need to be placed on the sides of the post that has the notches on the Post Skirts.
13) Slide the Post Skirts into their positions on the top and bottom of the post and affix using PVC